COMPRESSOR TOOLS
BEFORE
AFTER
TM 5-5106 Tool List
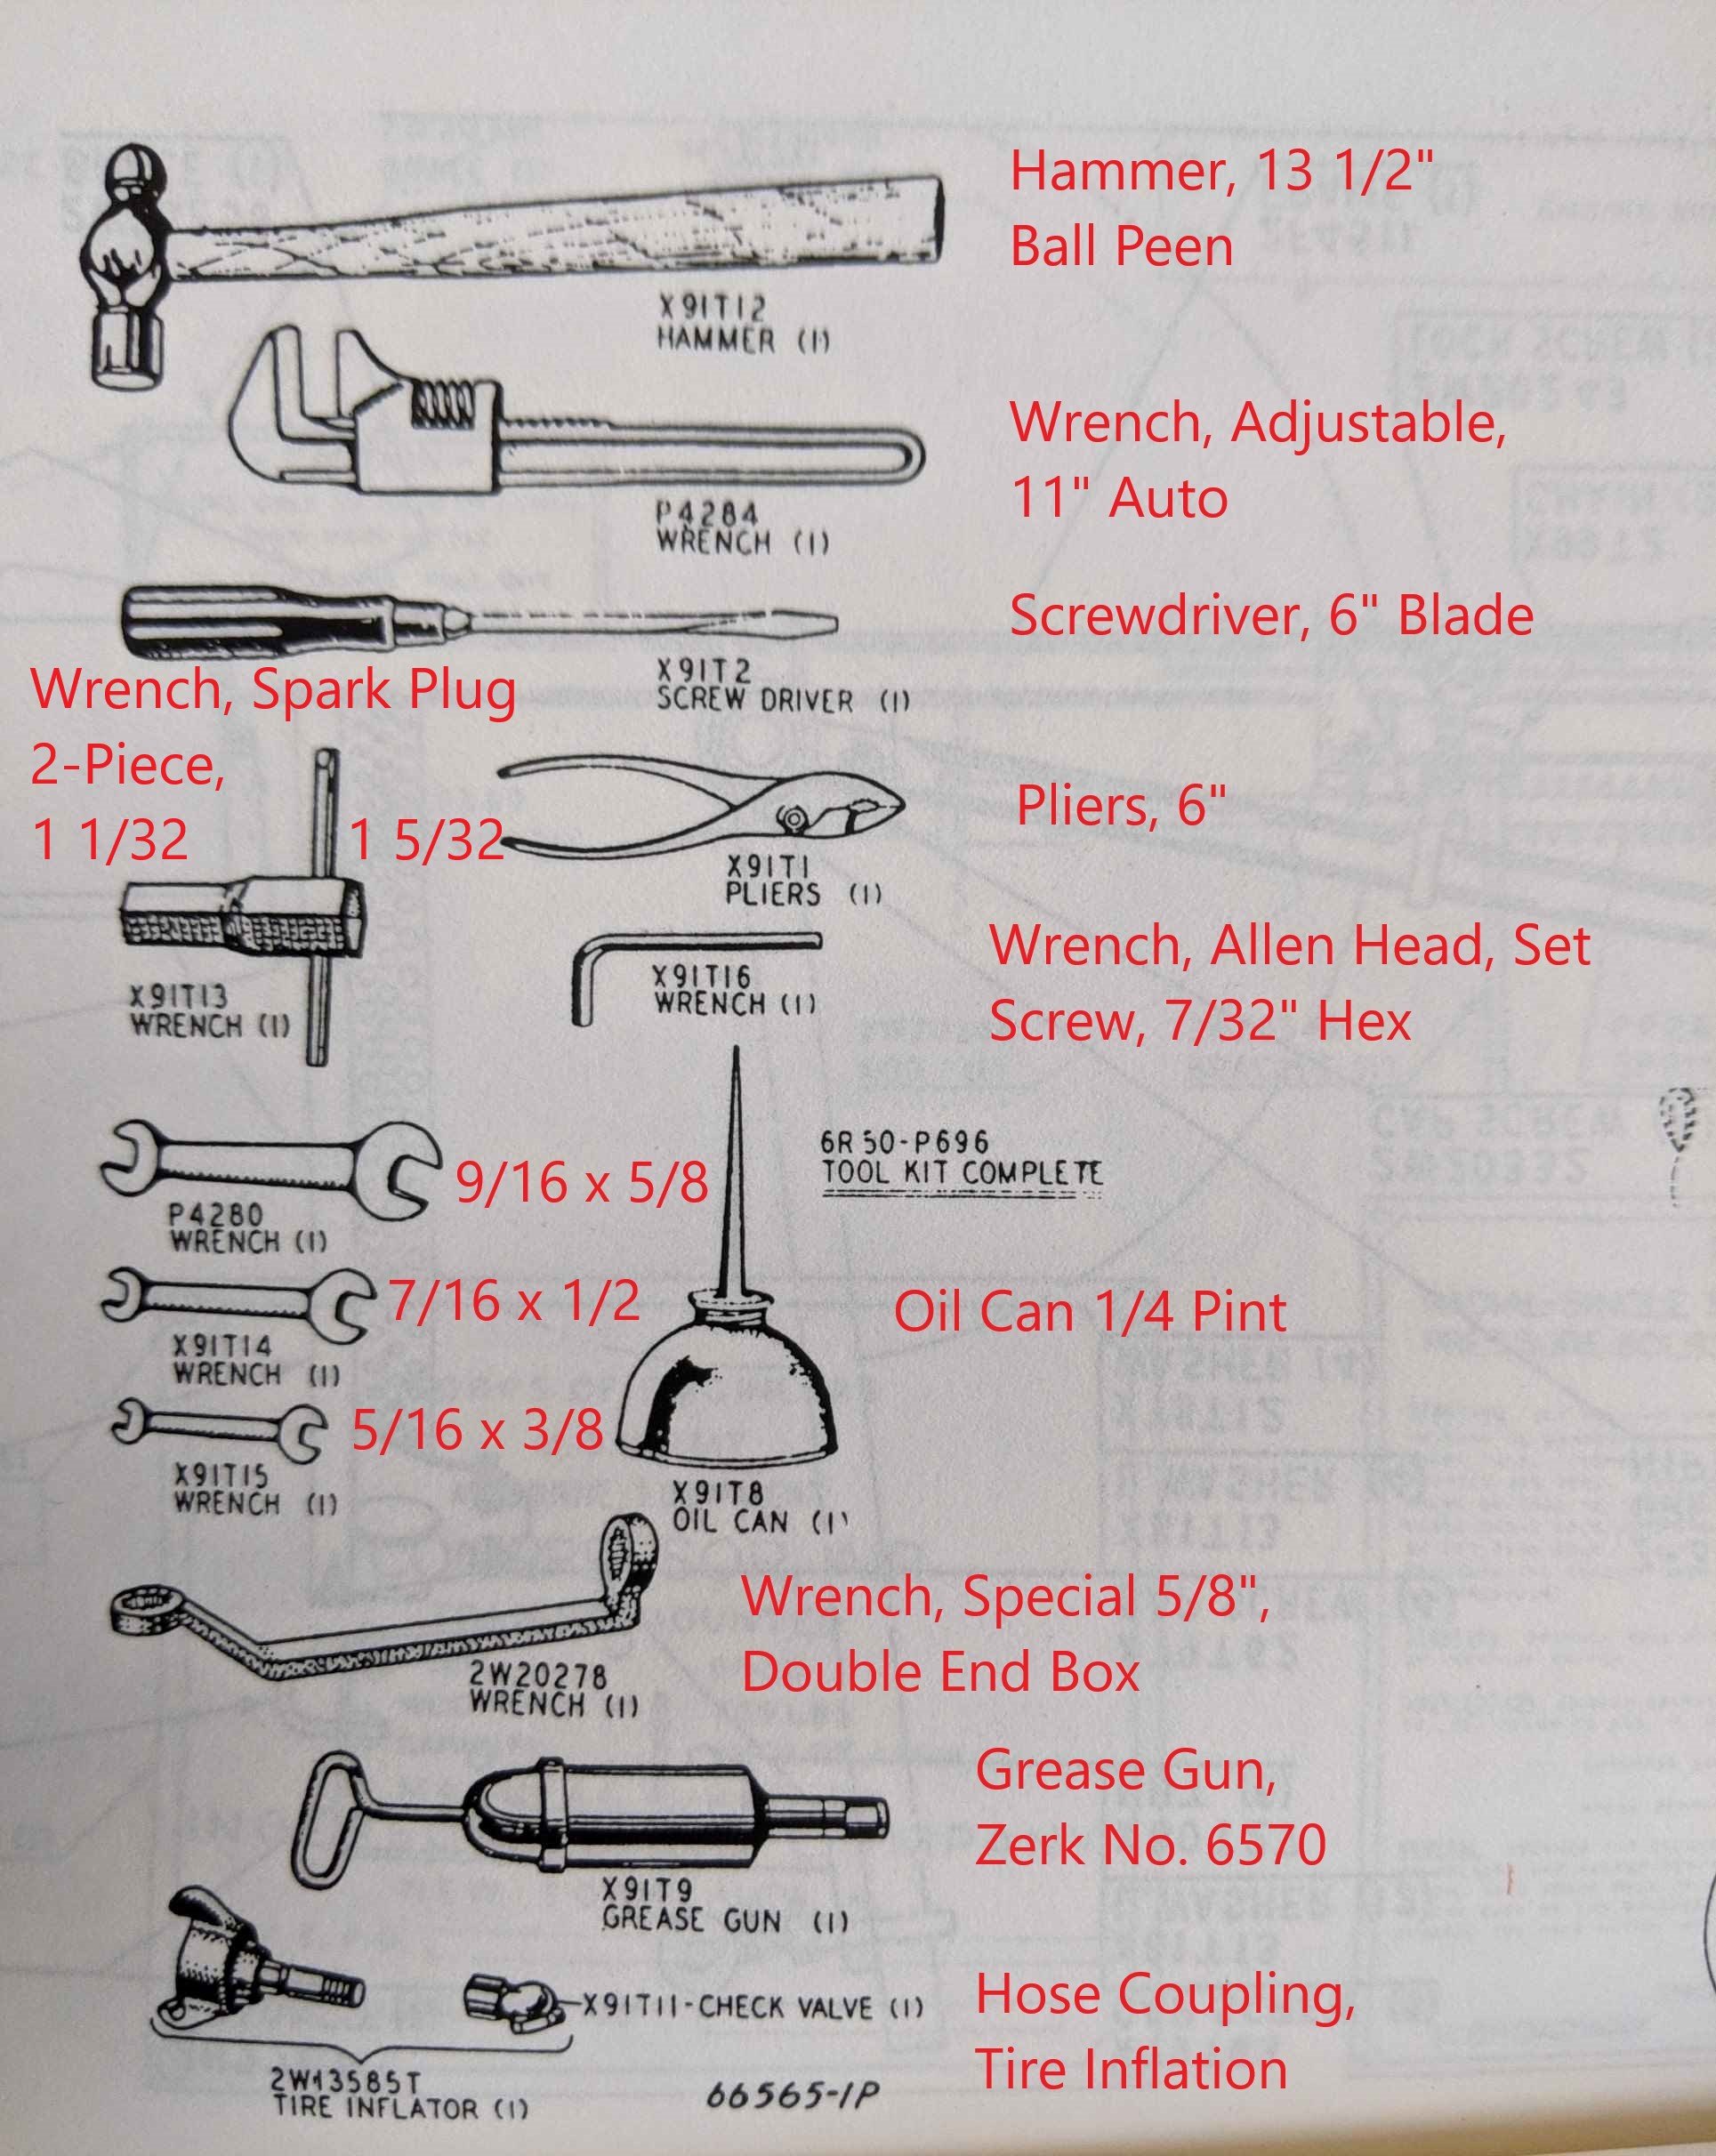
As with almost every military vehicle or major components there is a specific tool kit that goes with it. TM 5-5106 lists the tools issued with each Trailer Mounter Airborne Compressor. The following tools all list Ingersoll Rand as the supplier. Many of the tools in the list were not manufactured by IR so they probably purchased them from government vendors as part of a sub contrat.
- 1ea, Hammer, 13 1/2" Ball Peen
- 1ea Wrench, Adjustable, 11" Auto
- 1ea, Wrench, Spark Plug, 2-Piece, 1 1/32" x 1 5/16"
- 1ea Screwdriver, 6" blade
- 1ea, Wrench, Open End, 9/16" x 5/8"
- 1ea, Wrench, Open End, 7/16" x 1/2"
- 1ea, Wrench, Open End, 5/16' X 3/8"
- 1ea, Oil Can, 1/4 Pint
- 1ea, Wrench, Special 5/8" Double End Box
- 1ea, Grease Gun, Zerk No. 6570
- 1ea, Hose Coupling, Tire Inflation with Check Valve
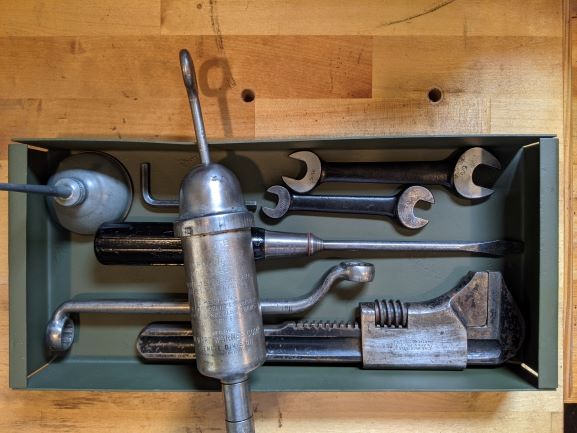
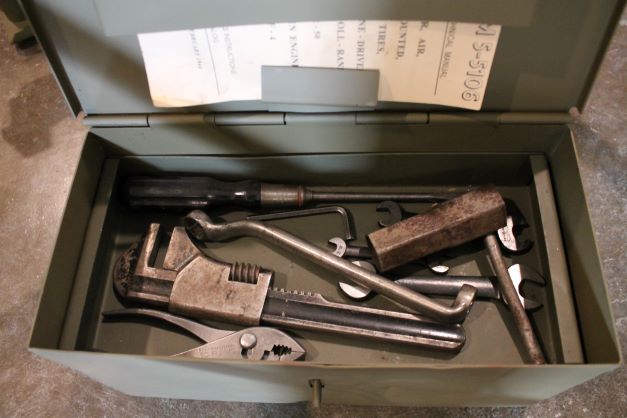
The image at right shows the tools supplied with the compressor and their relative size and shape. It should be easy to fin them to complete the kit, with the exception of the hose couling for tire inflation. All of these tools were stored in the hinged lid tool box which had a removable tray, a slot for storing the TM and was bolted to the rear frame of the trailer.
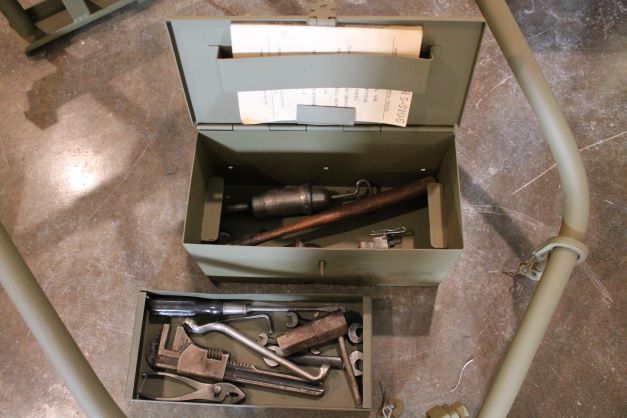
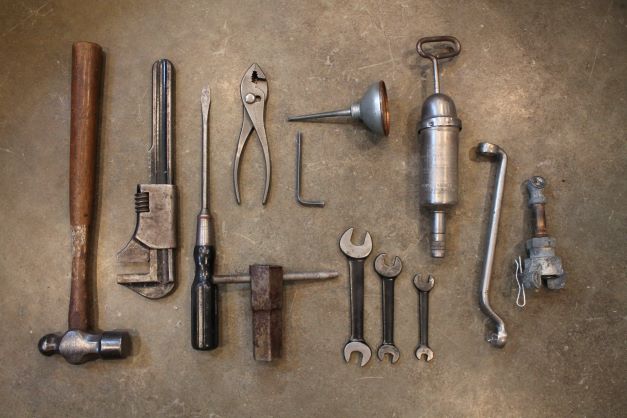
The image below shows the near finished assembly of the listed tools.
Tool Box
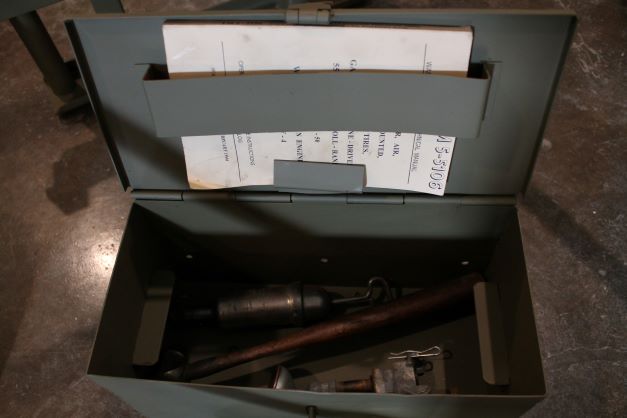
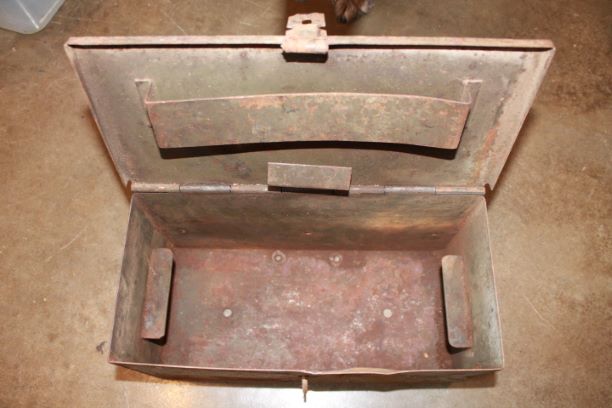
The tool box is of a rather sturdy construction, about 14 gauge. It has a hinges lid that overhangs on the back side and has a hasp on the front for a conventional lock. There are two lips on the left and right side on the interior for holding the tool tray. The lid has a metal loop and lip to hold TM 5-5106.
The front of the box has two significant dents. They are hard to repair for me given the lack of tools and inability to get a hammer on the interior to ding out the dents. Heat and cool did not do much good either, so perhaps we will leave a bit of character in the box.
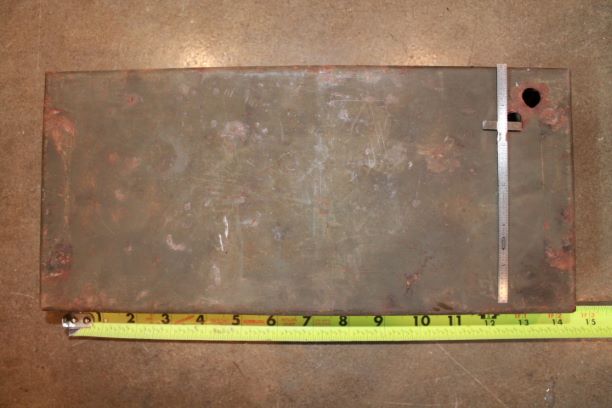
The tool tray has two holes drilled in the floor. I assume, as with other tool box trays, the hole is for the spout of the 1/4 pt. oil can. There are two holes drilled to 3/8" and both look to be re-drilled from the original size as they have a significant lip from the drill. I will weld-fill them and re-drill a smaller hole at 1/4" in the correct location.
My weld skills are not up to par yet, so there will be a bit of filler to hide the recess from the welding. I used a copper piece on the bottom to minimize the grinding and filling.
I will sand blast the trays, prime them and spray them with OG Green Shade 33070 Early WW2 Lusterless Olice Drab.

Finding the Tools
Most of the tools for the kit are easy to find. I elected to go with the Williams brand for the three wrenches. The 3/8 x 5/16 seems a bit illisuve, but will turn up. The special double ended 5/8 wrench looks correct, but I just noticed the affset end is on the wrong side and should be on the same side as the 90 degree portion.
I am also not quite sure on the oil can as it lists 1/4 pint. I need to do some more research from vintage tool catalogs to find the correct size. The hole drilled in the tray was 1 1/2" from the edge, so the can cannot be greater than 3" in diameter.
I weld filled the two holes in the tray and once I find the correct oiler, I will redrill a 1/4 hole in the tray bottom to accomadate the spout as it sticks up through the tray when placed in the bottom. This prevents it from being tipped over during transport.
