Carburetion
BEFORE
AFTER

Tear Down
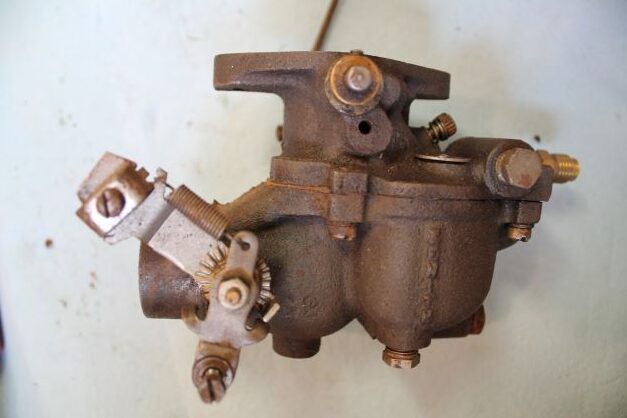
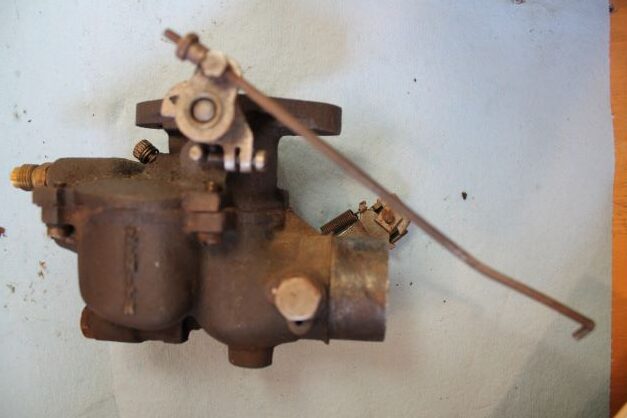
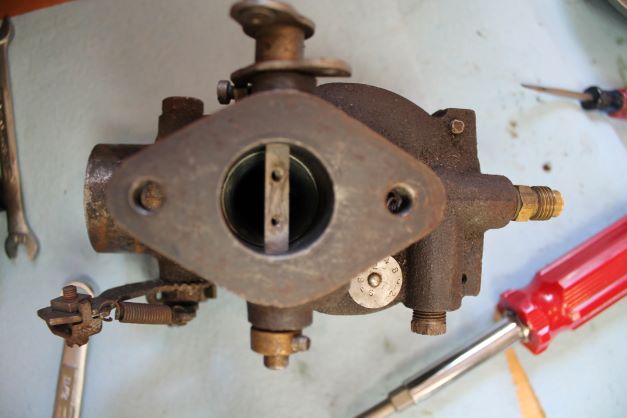
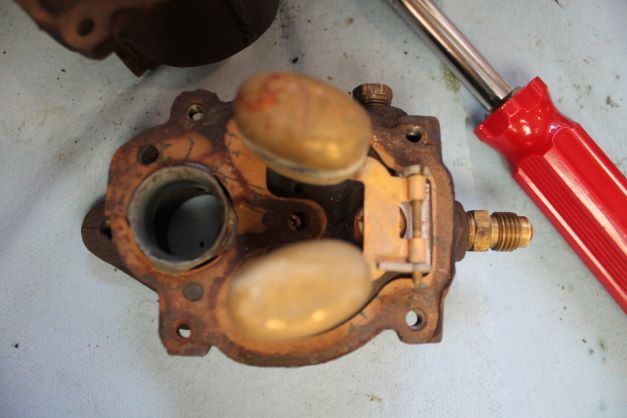
The tear down of the carb was fairly simple. The Zenith S-632 is plentiful and many rebuild parts and kits are available. The inside was fairly clean and this should be a straight forward rebuild. I took many pics of the carb to aid in assembly later.

Rebuild
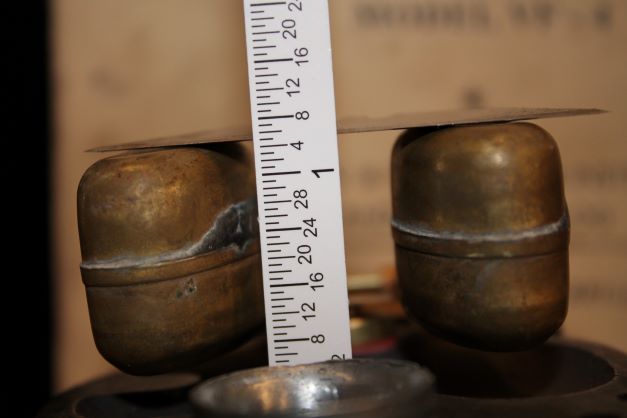
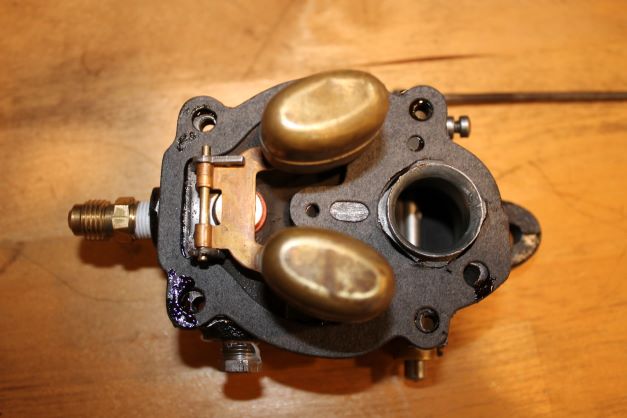
I have all of the new parts and gaskets in and have set the float adjustment from base of cover to top of float at 1 5/32 +/- 3/64". I am right on the money

Speed Regulator
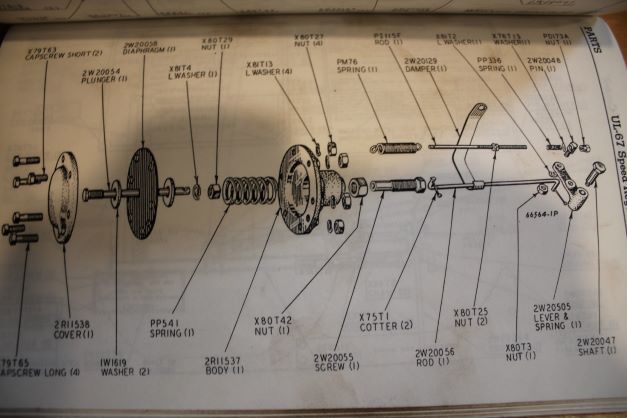
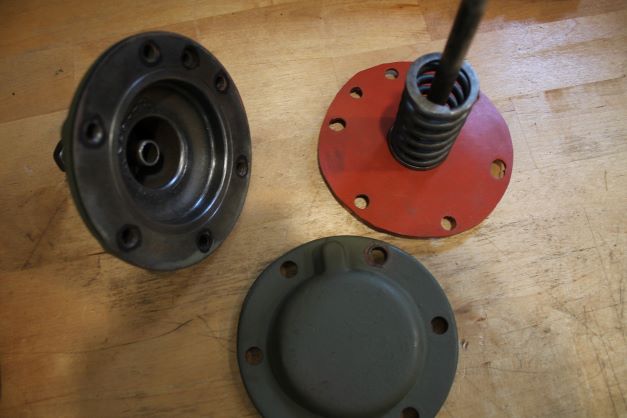
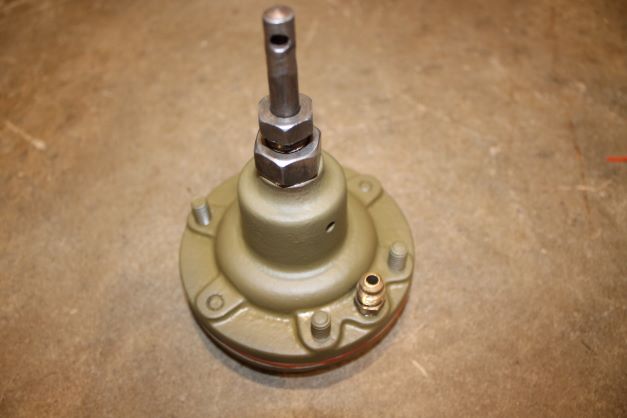
Technically part of the carburetion system the speed regulator samples outgoing air pressure and adjusts the engine speed. The diaphragm in this was shot so I had to use a piece of 3/32 neoprene to recreate a new one. This part gets mounted on the upper cowl.
Speed Regulator Installation
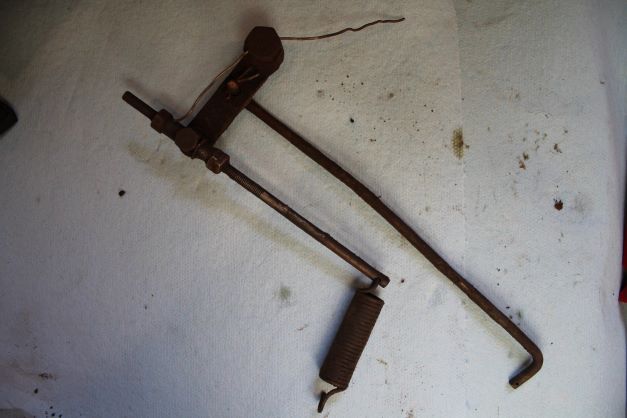
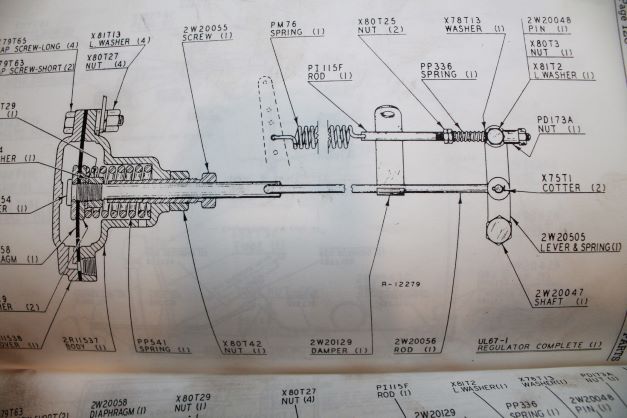
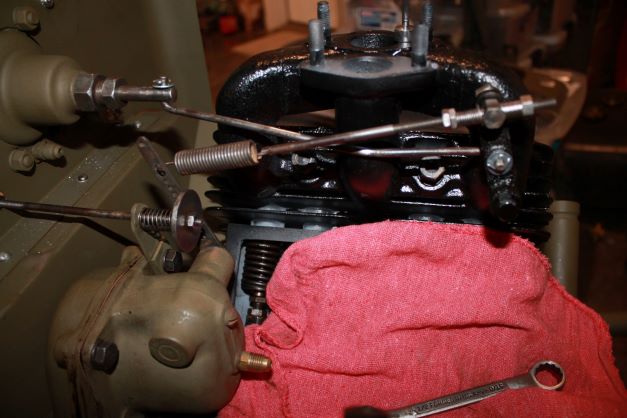
The linkage for the speed regulator is connected to a bracket on the manifold. The TM shows the linkage going parallel from the bracket to the governor and speed regulator. On the actual engine the governor is below the line of the other link and so they cross. These were not hooked up when I bought it as the speed regulator was taken apart due to a torn diaphragm. Strange, but there is no other way around this that I can see.
Air Cleaner
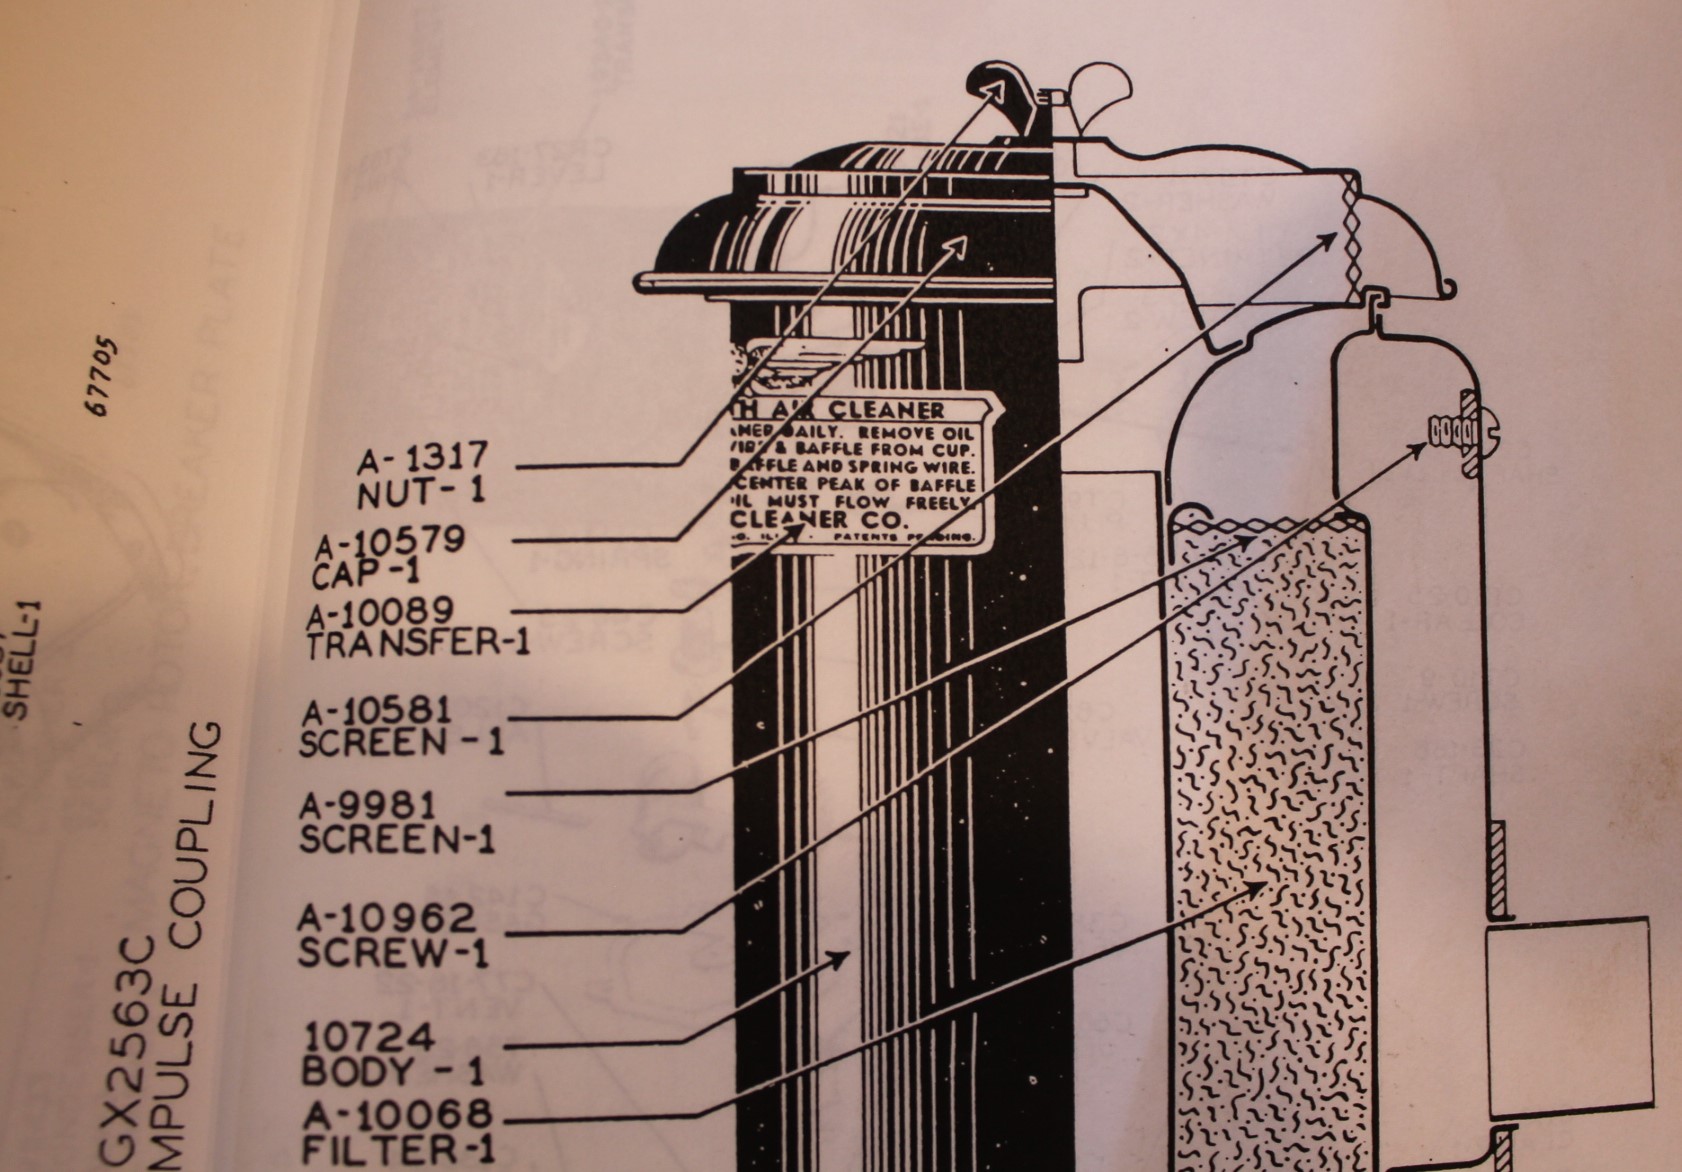
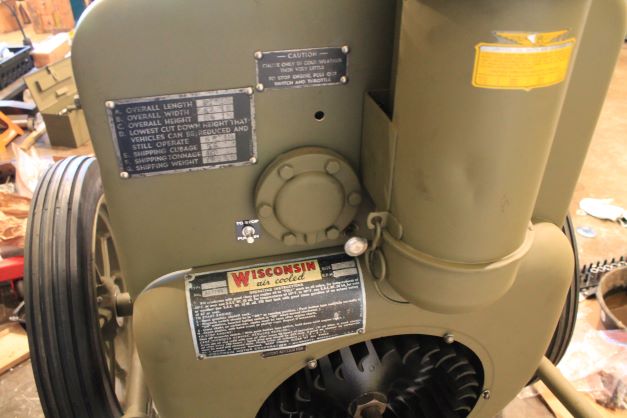
The air clenaer assembly is like any other vintage engine oil bath air cleaner. I cleaned it by hand to avoid getting any sand in the element. The original cleaner was painted satin black and then received a coat of OD. THere is according to the TM a United Oil Bath Air Cleaner decal affixed to the housing.
Air Cleaner to Carburetor Hose
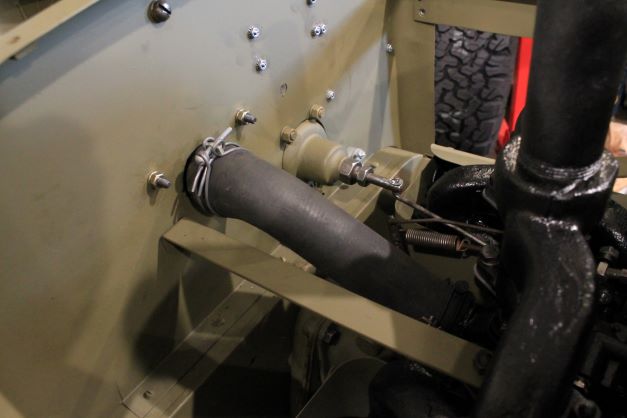
The air clenaer hose was a bugger to find. I looked through hundreds of examples and finally settled on one that has a 1 3/4" opening at one end and a 1 1/2" at the other. I had to cut off each end to make it fit. Getting one with the correct offset bend was difficult. I used cadmium 2-ring hose clamps as per the TM.
