Compressor
Crankshaft installation
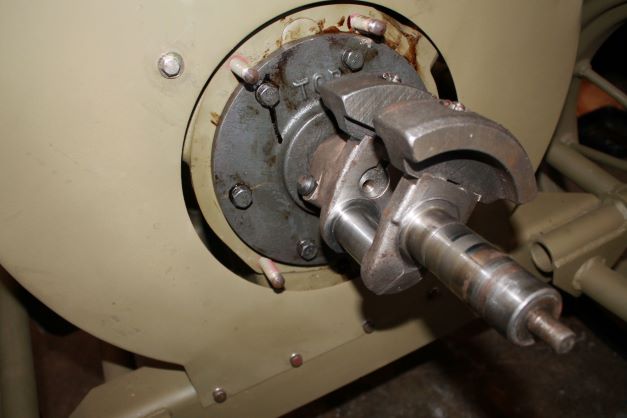
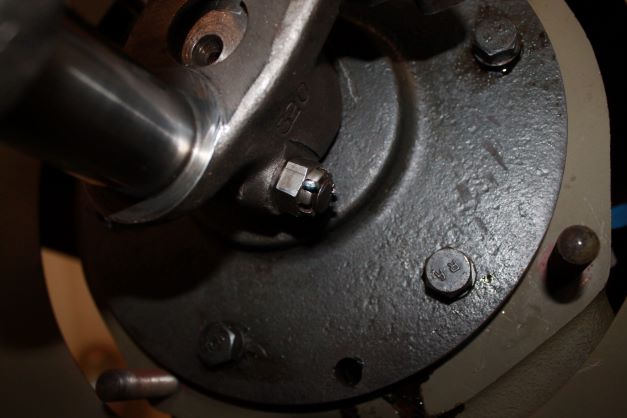
The crankshaft fits on the output shaft of the WIsconsin engine. It is splined and has a pass through slot for the bolt to secure it to the shaft. That gets secured with a catle nut and cotter.
Crankcase
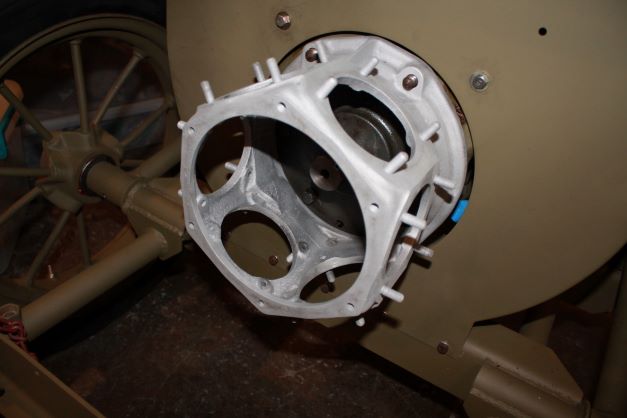
The crankcase is blasted, primed and painted. I am installing it to the block using some rtv gasket maker. It is secured with the 4 bolts and split lockwashers.
Compressor End Cover
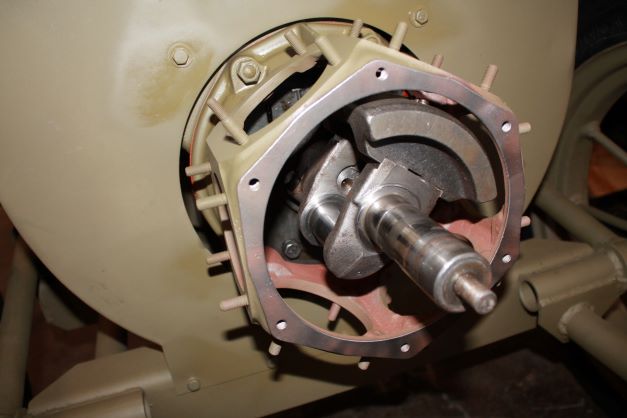
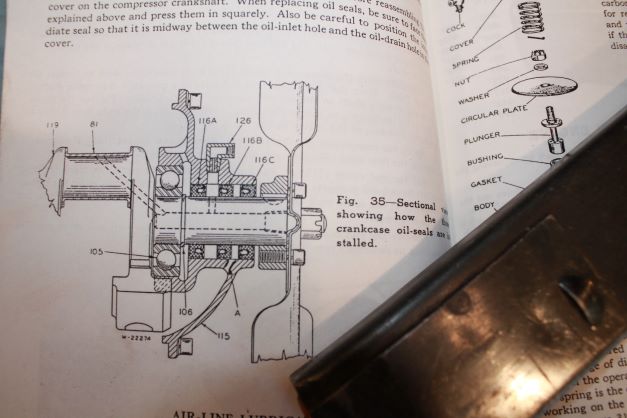
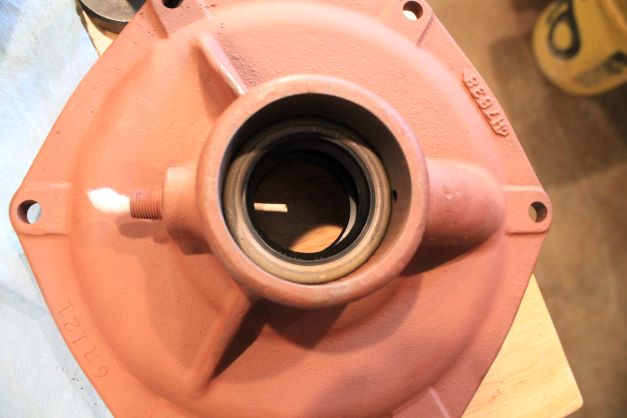
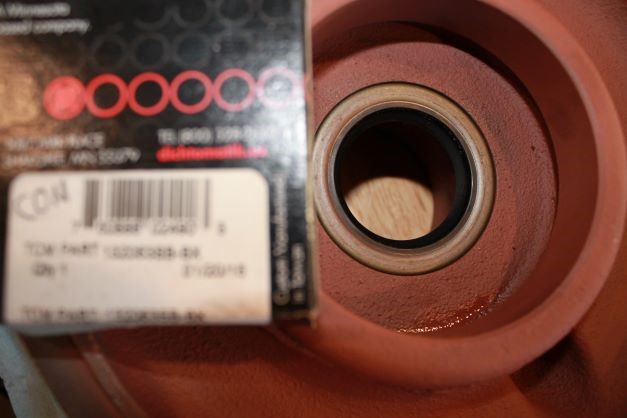
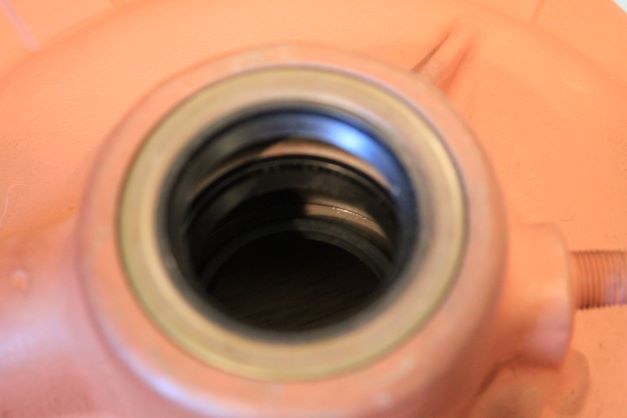
The compressor end cover has three oil seals. One is on the inside to keep oil in the crankcase, and two are on the outside to allow for oil in the shaft bearing and crank. The outer ones are flush with the surface and the inner seal is between the oil holes which you can see in the images.
Piston Master Rods, Rods and Piston Installation
Installing the piston rods and pistins took a bit of time. There are two small dumbell shaped dowells that help to allign the halves of the rod assemblies and the pins that hold the rods into the assembly are recessed so that the 4 bolts pass through them in allignment. They are a tight fit, so getting everthing alligned i the tight space takes some effort. It may have been easier to remove the pistons and then reinstall them. Once the four cap bolts are installed with castle nuts, small cotter pins have to be inserted and secured. Very tight work here.
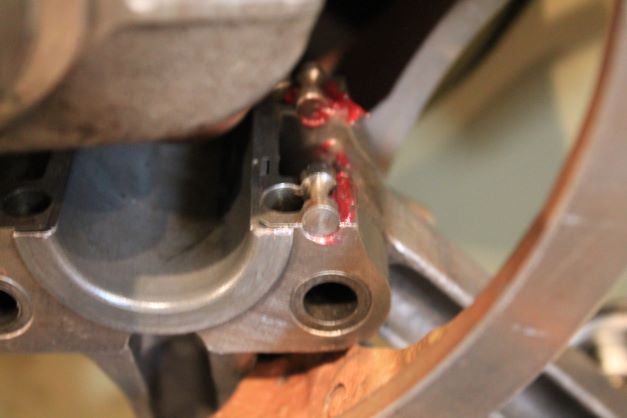
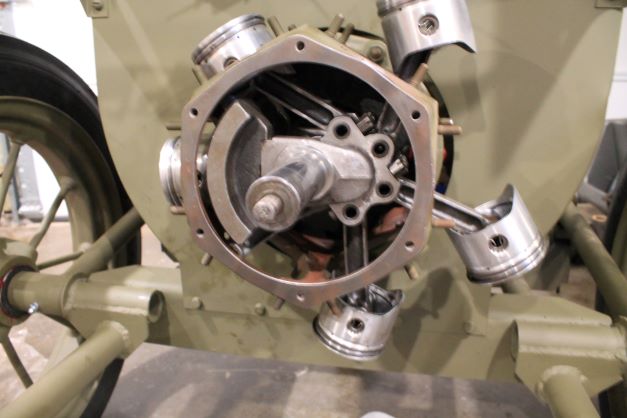
Installing Cylinders
Since there are no parts for this compressor I had to make all of the gaskets. There are 3 different ones, top, middle and bottom gaskets that sandwhich all the parts together. First are the cylinder to crankcase gaskets seen here.
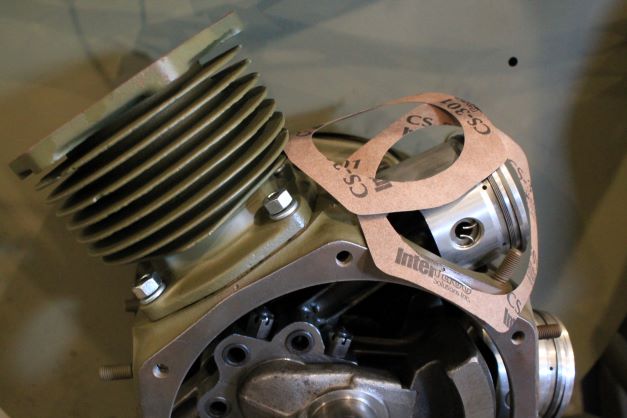
Air Line Lubricator
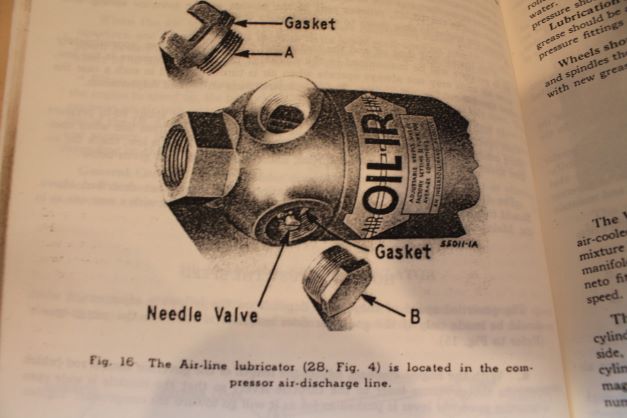
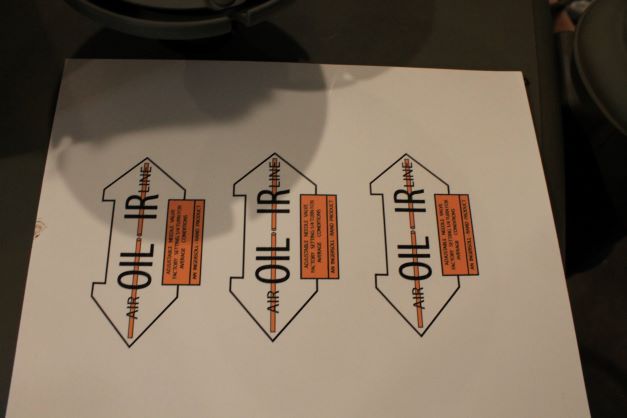
I am working on the air line lubricator section of the compressor output. The decal is gone from the part, but a faint outline gave me the dimensions. I am also unsure of the decal colors, and there are no other examples anywhere to draw from. I believe this whole project is a one-off. I have prepared a decal and when the part is blasted and primed, i will give the decal background a white finish on the part, and then mask it to size and paint OD. Once that dries I can add the decal which is water based and somewhat translucent as seen on the oil filter decal.
Place Holder
I h