GPW 14518 Hood-Fenders
Passenger Fender Repair
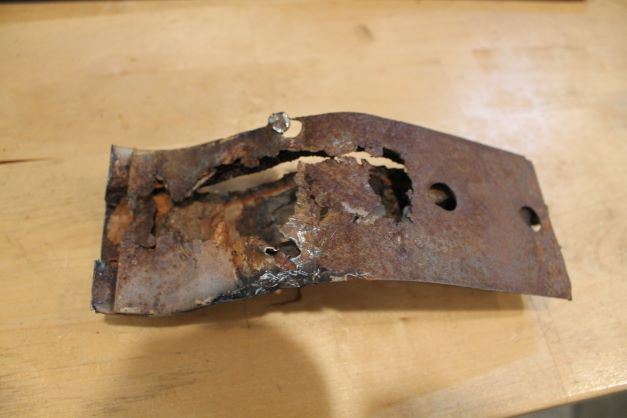
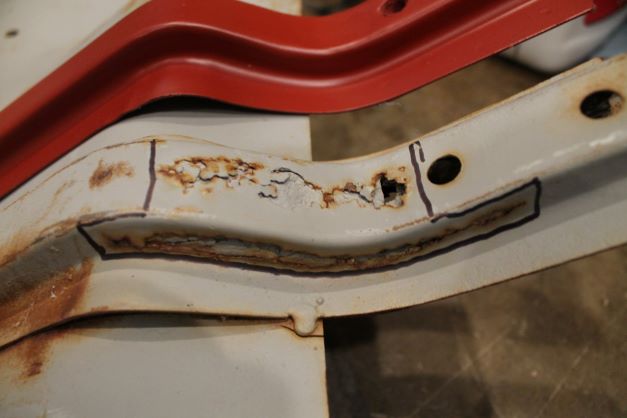
The right front fender is overall in great shape and is F marked. It does have significant rust through on the hat channel as indicated. The wood inside is rotten through and would be a continued source of water retension.
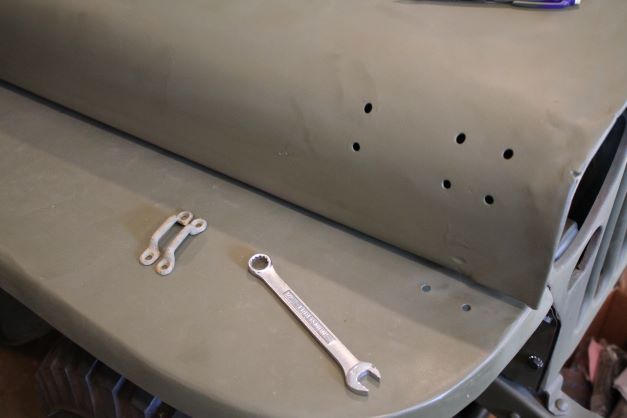
I will remove the offending portions of rust and replace them. THere are also a few extra holes drilled here and there whcich will be weld filled and finished. There are a couple of options for the repair.
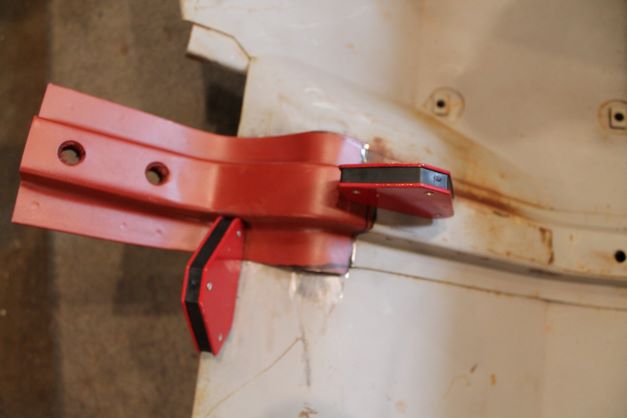
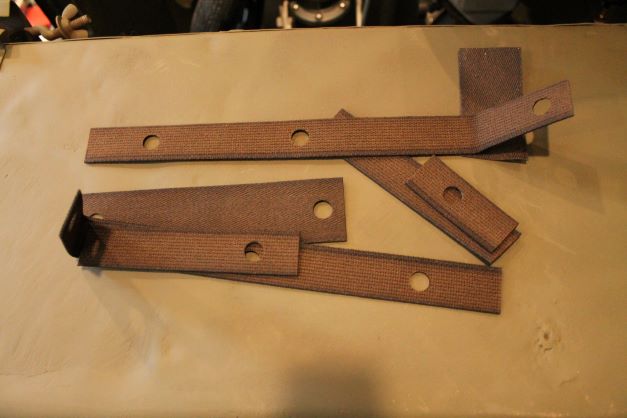
- I can remove the entire hat channel and replace it with the one shown.
- I can remove the lower 1/3rd and butt weld it into place and tack it to the fender
- I can replace the rusty p[ortion only as a single piece and keep the remaining structure.
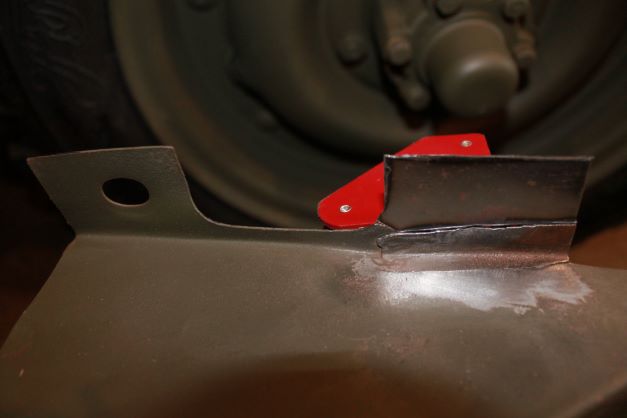
its a matter of deciding to keep the most original parts verses more work in cutting and welding to make a seamless match with a small angled cut out. As you see from the images, the backside of the channel was very deteriorated and I had to remove the entire lower section to arrest the spread of decay. Perhaps a more accomplished metal worker would have been able to remove less.
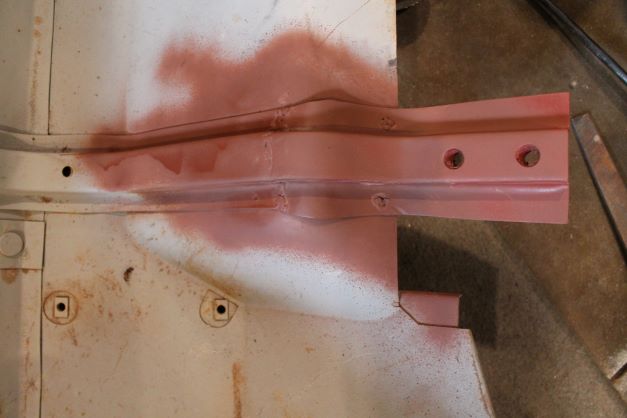
As you can see from my lack of welding skills it looks rough. I will get better over time. I have primed it to prevent any flash rust and will do a bit more grinding to get the weld seams a bi more smooth.
Fender Installation
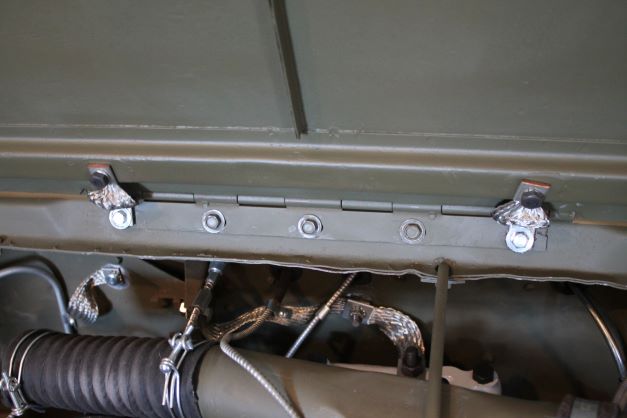
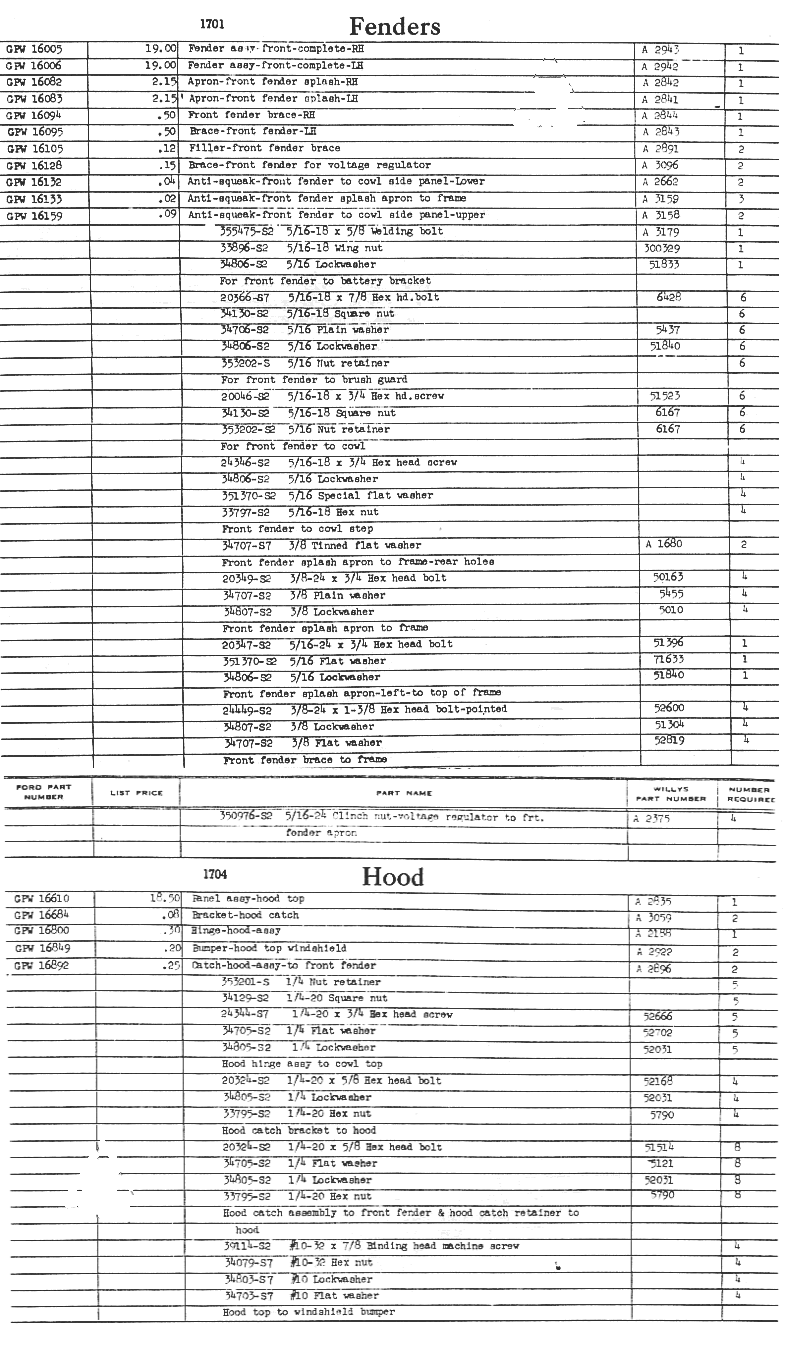
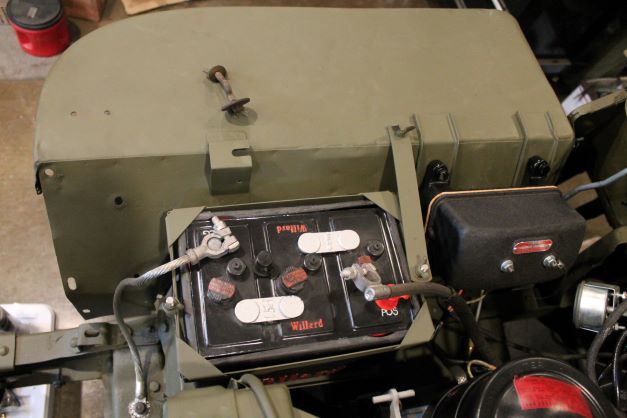
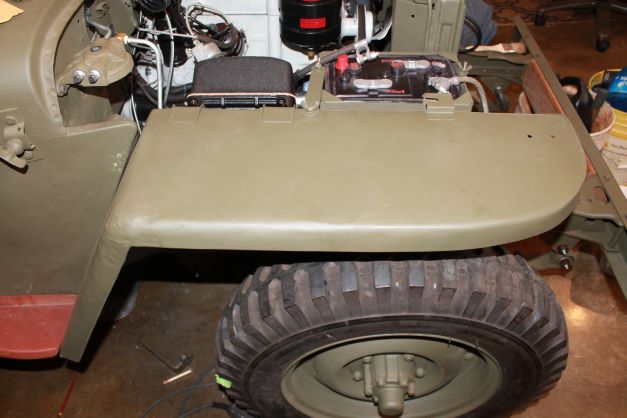
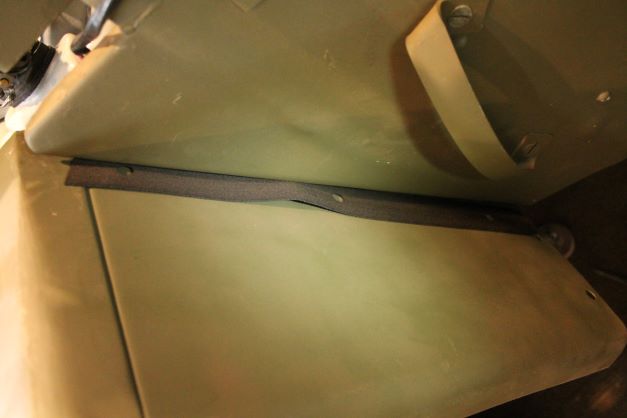
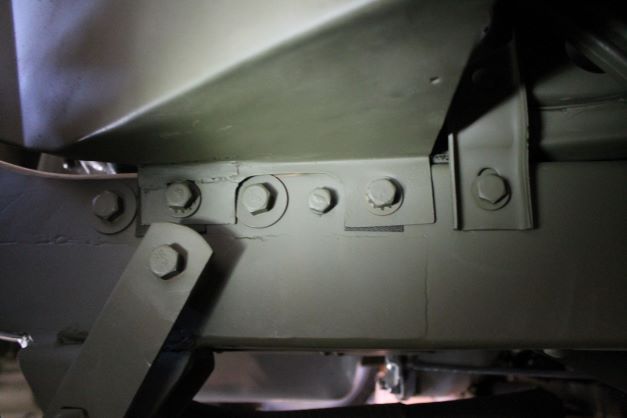
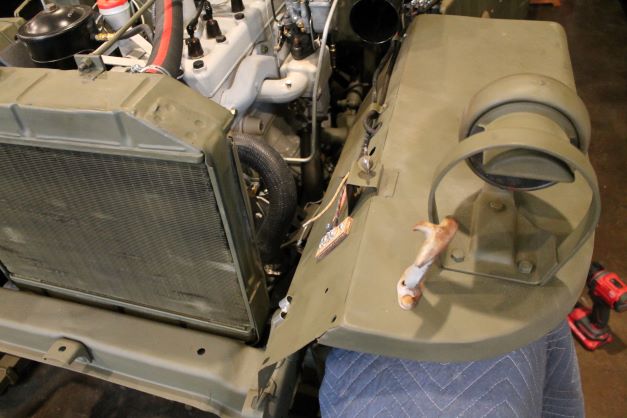
I installed the fenders with original bolts per the TM and used the RFJP fender anti squeek kit. It took a bit of adjusting to get the passenger fender lined up properly as I had welded the lower support hat channel on and it was a bit off. In the end I used longet bolts in the fender to firewall portion to snug that down, then replaced them one at a time with correct size.
The VR mounted on with no porblems. The driver's side fender was also without problems. The driver side fender needed one of the frame support pieces repaired. I cut out a piece of sheet metal and welded it in place to complete the fender. Both of these fenders will need some additional work, but that will come later as I want to get this thing on the road.
As you can see in the last image the my welding skills have a long way to go, but at least we are making progress.
Hood Installation
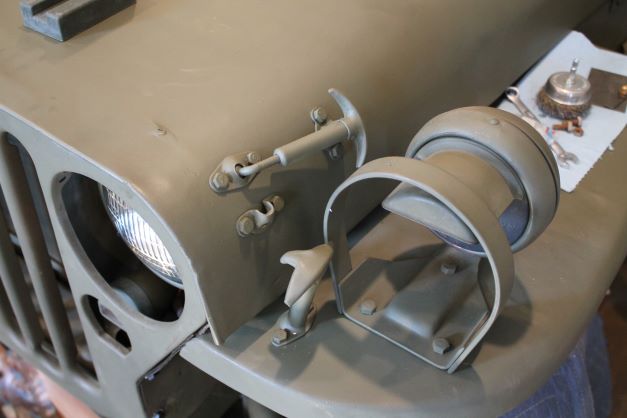
I did not take a lot of images during the hood finishing. The installation went fine although I have larger than usual gaps beneath the driver's side and the fender, whereas the passenger side gap looks acceptable. Moving the hood around a bit after loosening the 5 bolts made a bit of a difference, but they will never be symetrical. Apparently this is not that much of an issue with the fitment.
